top of page
Clay Tips for Teachers
On this page, I would like to share some tips and tricks I have learned while teaching clay projects over the past ten years. I hope you can find something that makes your life easier and your lessons more successful!
(*This page is best viewed on a desktop over cellphone.)
Prep Work
Tip #1 TEST IT OUT!
The most important thing you need to do when teaching ceramics is to always test a clay project before teaching it to a whole class or grade level! In the process you will discover about how much clay you need per project. Let your test-piece dry out to make sure it does not crack or warp. Test out glazes or paint. As you encounter problems, you can strategize how to avoid them during precious instructional time. You might even get inspired to improve upon your original idea!
Tip #2 SELECTING CLAY
I have to say, I've worked with a handful of different clays and it has taken some time and experimentation to know what I like best. The clay you select will depend upon your budget, what is available in your area, and your personal preferences. My advice would be to ask an experienced art teacher in your area to name a clay company and type they have found success using with kids. Generally, low fire clays will be cheaper than stoneware and they are easy to work with. Earthenware is more porous and not as strong as stoneware, but plenty durable for elementary school projects and will not shrink like stoneware. I use stoneware with my middle schoolers or with classes outside of school when parents pay for kids to participate.
In Georgia, where I live, we have an inexpensive earthenware called Lizella clay (from Lizella, Georgia!). This clay works well for elementary ages. It is available at The School Box store and Daven's Ceramic Center in Chamblee, GA (Atlanta area). Lizella clay fires an orange color, so sometimes glazes look a little darker on it than a white clay. I have have also used white clays from Amaco , Highwater, and Standard (You may want to go for a Talc-free for best health and safety with dust). I order Amaco clays from Blick Art Supply. If in Asheville, NC, I stop by Highwater Clays.
Of course, if you do not have a kiln, Model Magic is great! I usually try to get it on sale or with a coupon. I have never had success with Crayola air dry clay. It just fell apart as soon as it dried...


Tip #3 MAKE A CLASS SET OF WORK BOARDS
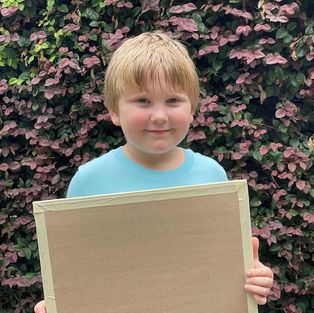
I created a class set of these rectangular drywall boards over five years ago, and they are still in good shape (and not moldy)! My students create their clay projects on these so they do not stick to the table and I store clay projects on them to let work dry. The boards make it easy to lift and move wet projects, or quickly transition between classes. I wash them under running water, scrub them with cellulose sponges, and prop them up to dry. As long as your students don't cover them in slip and muddy clay, they do not get dirty too quickly.
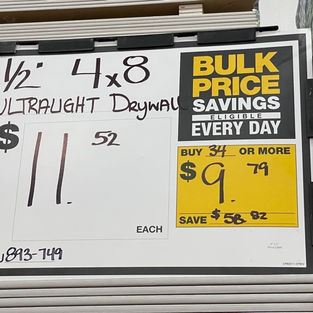
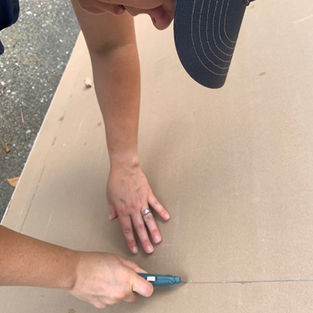
I made a new set of square boards to share here with you! It took less than two hours and about $20 at Home Depot to make this set of 18. See the pictures below for steps.
Instruction
Tip#4
Prep tools and materials before class. I usually create one tub per table with enough scoring and blending tools for everyone at the table. I also put cups of slip in with enough paintbrushes for everyone at the table to apply slip. The slip cups and tubs can be found at dollar tree. For lower grades (k-2) I tend to keep tools as minimal as possible until they learn to manage them (i.e. no sponges. usually just one tooth pick per kid, one paintbrush per kid, and slip).
Tip#5
If rib tools for smoothing are not in the budget, old gift cards work create to dip in water and smooth slabs!


Tip#6
If the budget allows or you can get a donation, use Playdoh or modeling clay for pre-assessment and practice. Allow kids time to demonstrate skill of pinch construction, coil, forming the play dough. This is a good time to remediate and refine skills before the kiln-fired clay.
Tip#7
If you have many classes completing the same project and limited time between, create a demonstration video. This takes time, but it can optimize instructional time, allow you to clearly explain steps and vocabulary, and it can be replayed for kids who are absent or need to review. I have used Clip Champ and iMovie.
OR
If you do not have the time to create a video, sometimes I create slideshow presentations of steps and keep this on loop during work time. Here is an example.
bottom of page


